Pastels
Pastels come in different shapes, sizes, hardness/softness and qualities.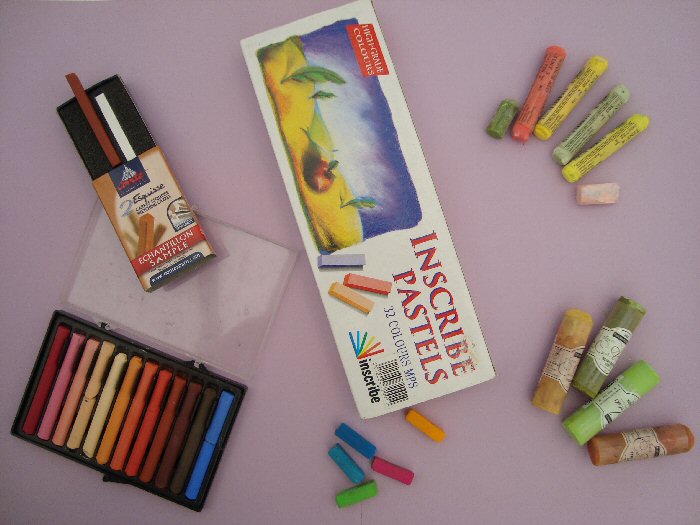
Soft pastels are creamier in texture and blend together more easily than hard pastels. Soft pastels give a more ‘painted’ look to your work and tend to be more expensive, especially good quality brands such as Rembrandt pastels.
Hard pastels are often much cheaper. They will give a harder line and tend to be difficult to blend together. I find these more useful for ‘drawing’.
Pastel pencils offer a more controlled application which is useful for smaller or more 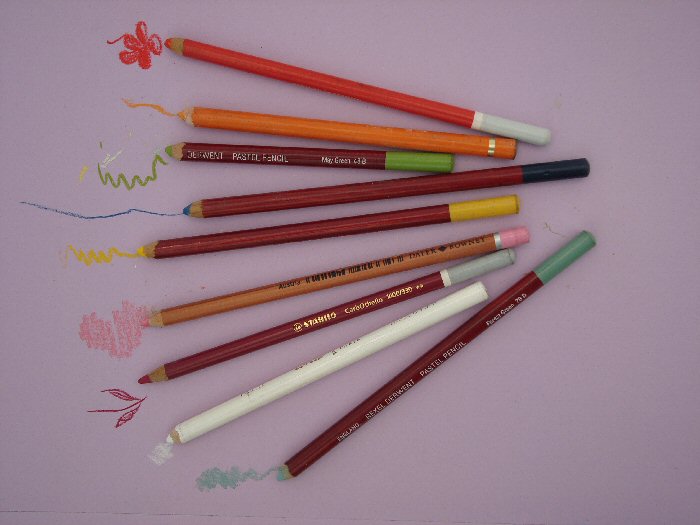
detailed work. They are also great for adding details to a bigger work. Often just black and white are useful to have, even if you want to work with bigger, block pastels, as these will give you the ability to define edges and add detail in dark and light.
I started using charcoal and chalk, which are relatively cheap to buy, before moving on to 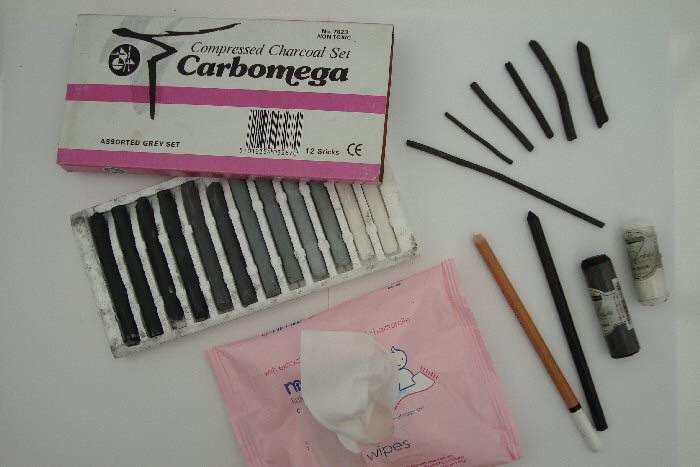
more expensive coloured pastels. I think this can be a good starting point to get the feel of pastel(ish) materials and to improve sketching and drawing techniques. If used with a mid-tone background (such as cardboard), they allow you to experiment with tone in a limited pallet.
Pastel papers / surfaces
Sugar paper – this was something I used a lot in college. It was 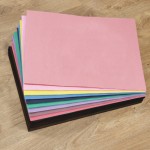 much cheaper than pastel paper, but allowed you to experiment with coloured backgrounds. It’s probably better for ‘drawing’ with pastels, rather than creating a ‘painting’ look, as the paper is thinner with less ‘tooth’ – meaning it will not hold a lot of pastel. I found it great for sketching and drawing.
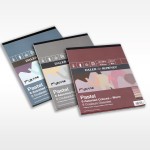 Pastel paper – there are many different brands around. I have used the Murano and Canford papers. These allow you to use more pastel – i.e. more thickly applied – but will still shed a lot of dust. I have used these papers for my animal portraits.
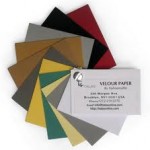
Velour – I have only experimented on a small scale with this surface, but it is fantastic for holding the pastel on the page. It feels a little like velvet and the ‘furriness’ gives the pastel a strong hold, creating very little dust and allowing for a finished ‘painting’ look. The softness also seems to give the best surface for blending colours.
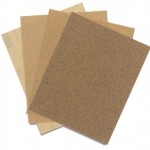 Sandpaper – The roughness of this surface allows the pastel to grip on well, but being so abrasive it will wear pastels down very quickly, making it a more expensive way to use them.
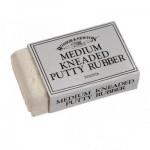
Putty rubbers – these are especially good at removing pastel from the paper without smudging or damaging the surface. A normal eraser may rub off part of the paper surface, which will show as a different colour or a shinier area in your picture.
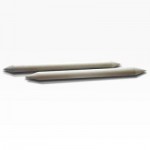 Rolled paper sticks – these can be useful for defining details and moving colour around in a small area. If they are clean (new), they will have the effect of taking colour off in an area, but if they are already used and dirty, they can give you a tool for putting in soft lines and paler shading on a more subtle scale than the pencils or pastel sticks will allow.
Colour shapers – I use these for moving colour and shading 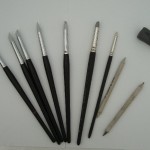 around on the paper, but the sharp edges are also great for creating fur and other soft effects. As with the paper sticks, they will give a softer line and shading when used ‘dirty’ like a pencil.
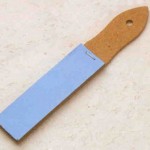 Sharpening – I used to always use a sharp knife to get a point on pastel pencils, as I found normal sharpeners were inclined to break the ends off. However, I was recently introduced to the wonders of normal sandpaper, which I find best of all. You can buy purpose made strips, but I find making my own or just using a sheet on the desk works fine.
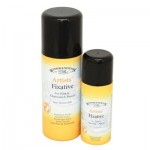
Hairspray / Fixative – Due to the dusty nature of chalks and pastels, you will need to ‘fix’ your pictures to the paper surface. Artist fixatives are readily available, but I still find a normal hairspray works just as well and is much cheaper!
I would also recommend having a large cloth or old towel under your work, as this will help to collect the dust and can then be taken outside and shaken.
Wet wipes are also really useful to keep your hands clean
Below are a couple of examples of pastel pictures by Elise.
Elise Nimmo September 2012
Edit – since Elise wrote this lots has happened: She and I married and she has become an accomplished professional artist. She tutors in groups and individually as well as selling her art in a number of venues. You can contact her at ArtByElise@outlook.com or search for Art By Elise UK on Facebook.
Speaking for myself I have to say that this page has wetted my appetite for pastels and the examples shown here are indeed very useful and instructive. Thank you Elise for this introduction to pastels.
Dave Hendry
